You’re ready to build a pool. Now what?
Here’s a quick list of the processes and the order in which they all happen.
Design
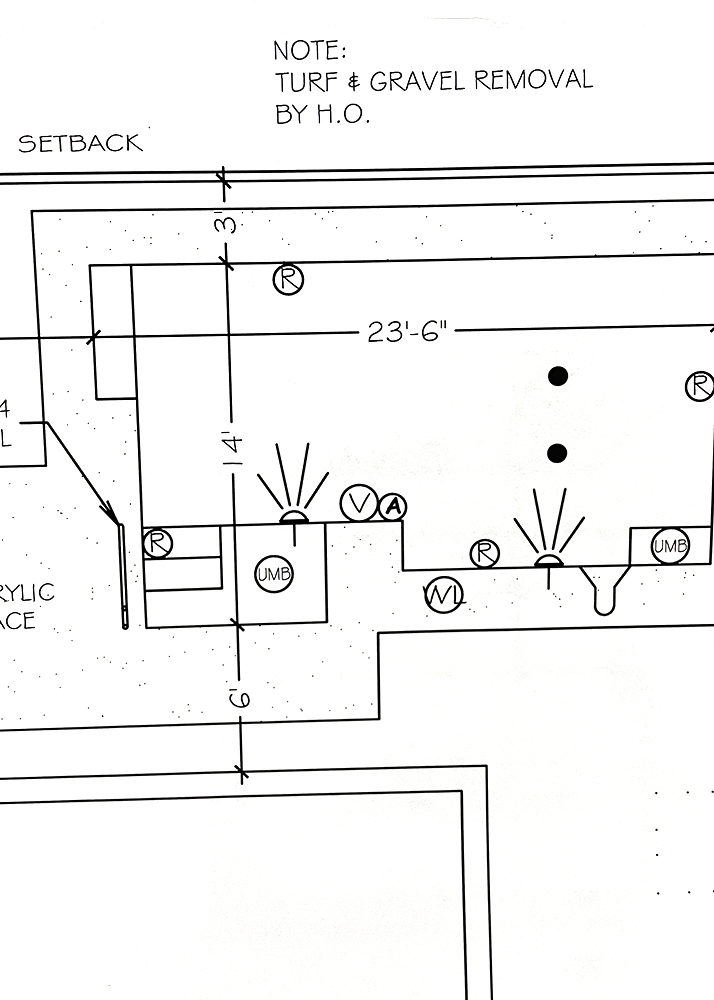
Decide what you like. Round or Rectangular? Small or Large? Is a deep diving area important? What about adding a hot tub area, slide, or waterfall? Make a list of the must haves and meet with us. Draw a rough layout of your entire backyard and decide where the pool will be located and how much space you want to allocate. We can meet with you and help with any questions you may have.
Set a budget
If you need financing now is a good time to start exploring your options. See the “Financing Options” tab for more information.
Meet with designers
Complete the plans for the pool and surrounding landscape.
Get permits
If you have an HOA you’ll need to make sure you’re within the statutes set forth. Plans and specifications will need to be sent to city and/or county officials to get approval.


Obtain Equipment & Parts
If you’re doing your own excavation you’ll need a backhoe or excavator. If you’re doing your own plumbing you’ll need to know how much pipe you need, which spa jets and nozzles and how many of each to purchase, a filtration system and, if you plan to use it all year, a heating system.
Building starts now!
Excavation and dirt removal will allow you to see where your steps and different depths will be.
Plumbing
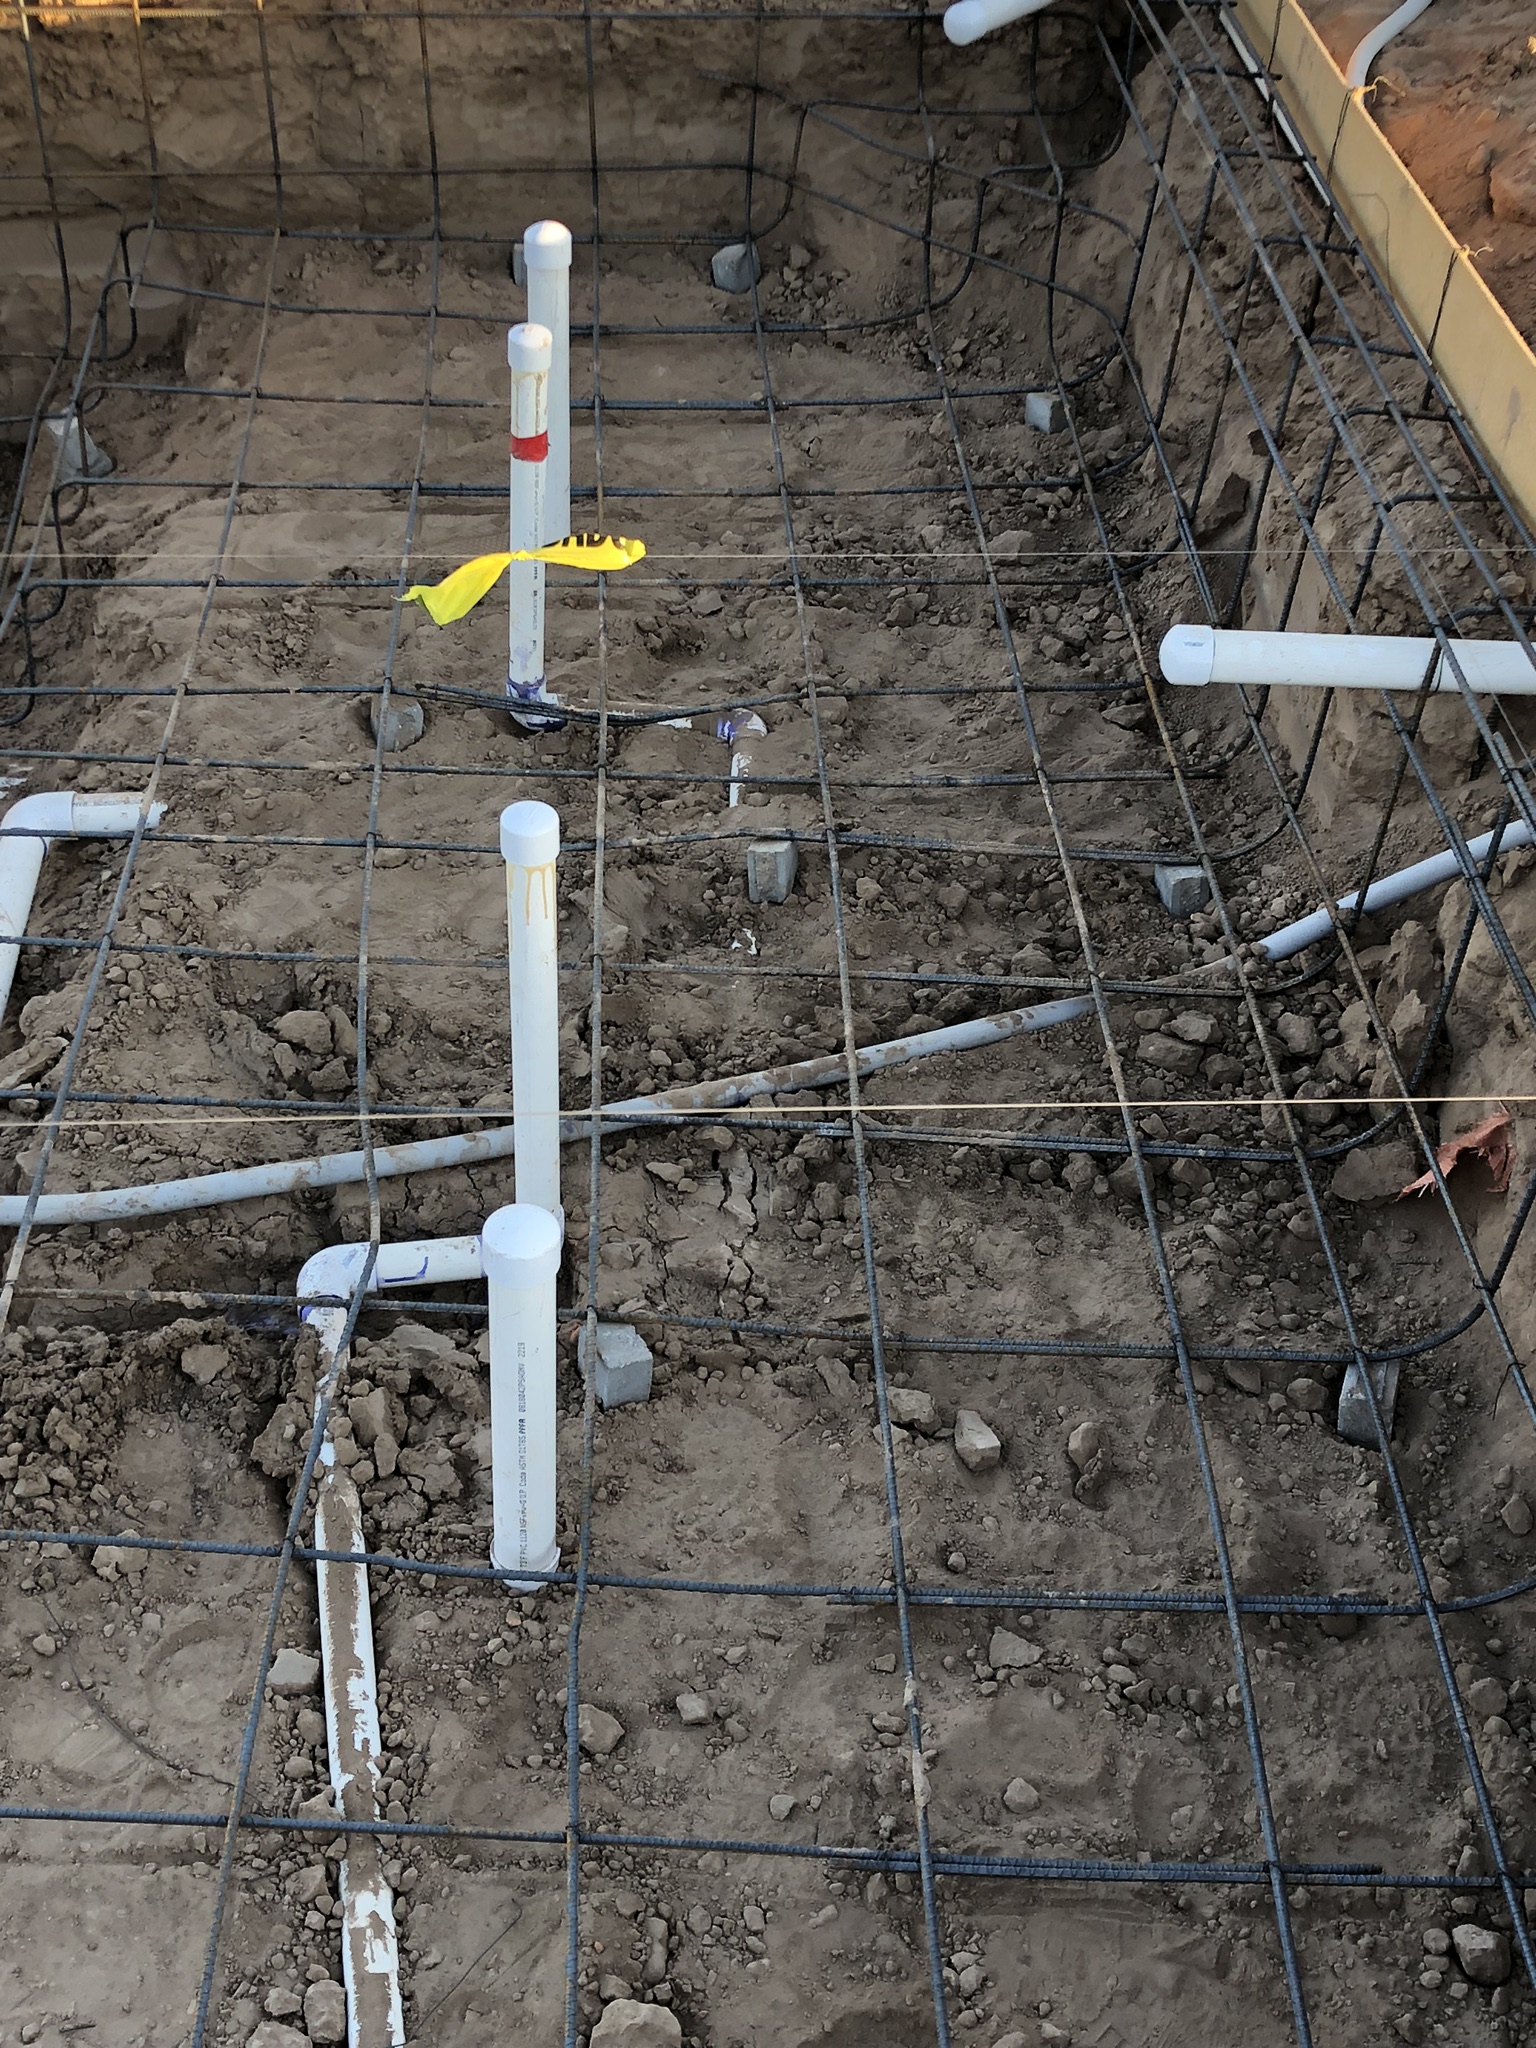
Plumbing starts as pipes are laid out. Drains, heating elements, light fixtures and jets are placed.
Electrical
Conduit containing all of the electrical wires are laid out to later be connected to the lighting, pool pumps, heating elements, underwater speakers and vacuums.
Steel or Rebar framing
All rebar is 12 inches on center, but don’t worry! It’s engineered and inspected!
Shotcrete
The floors and walls of the pool take shape as they are sprayed with an 8 inch thick layer of shotcrete. Shotcrete is concrete that is projected at a high rate of speed to avoid excessive dripping and sliding. It also eliminates the need for frames to hold it in place like those used in pouring footings for a building.
Tile
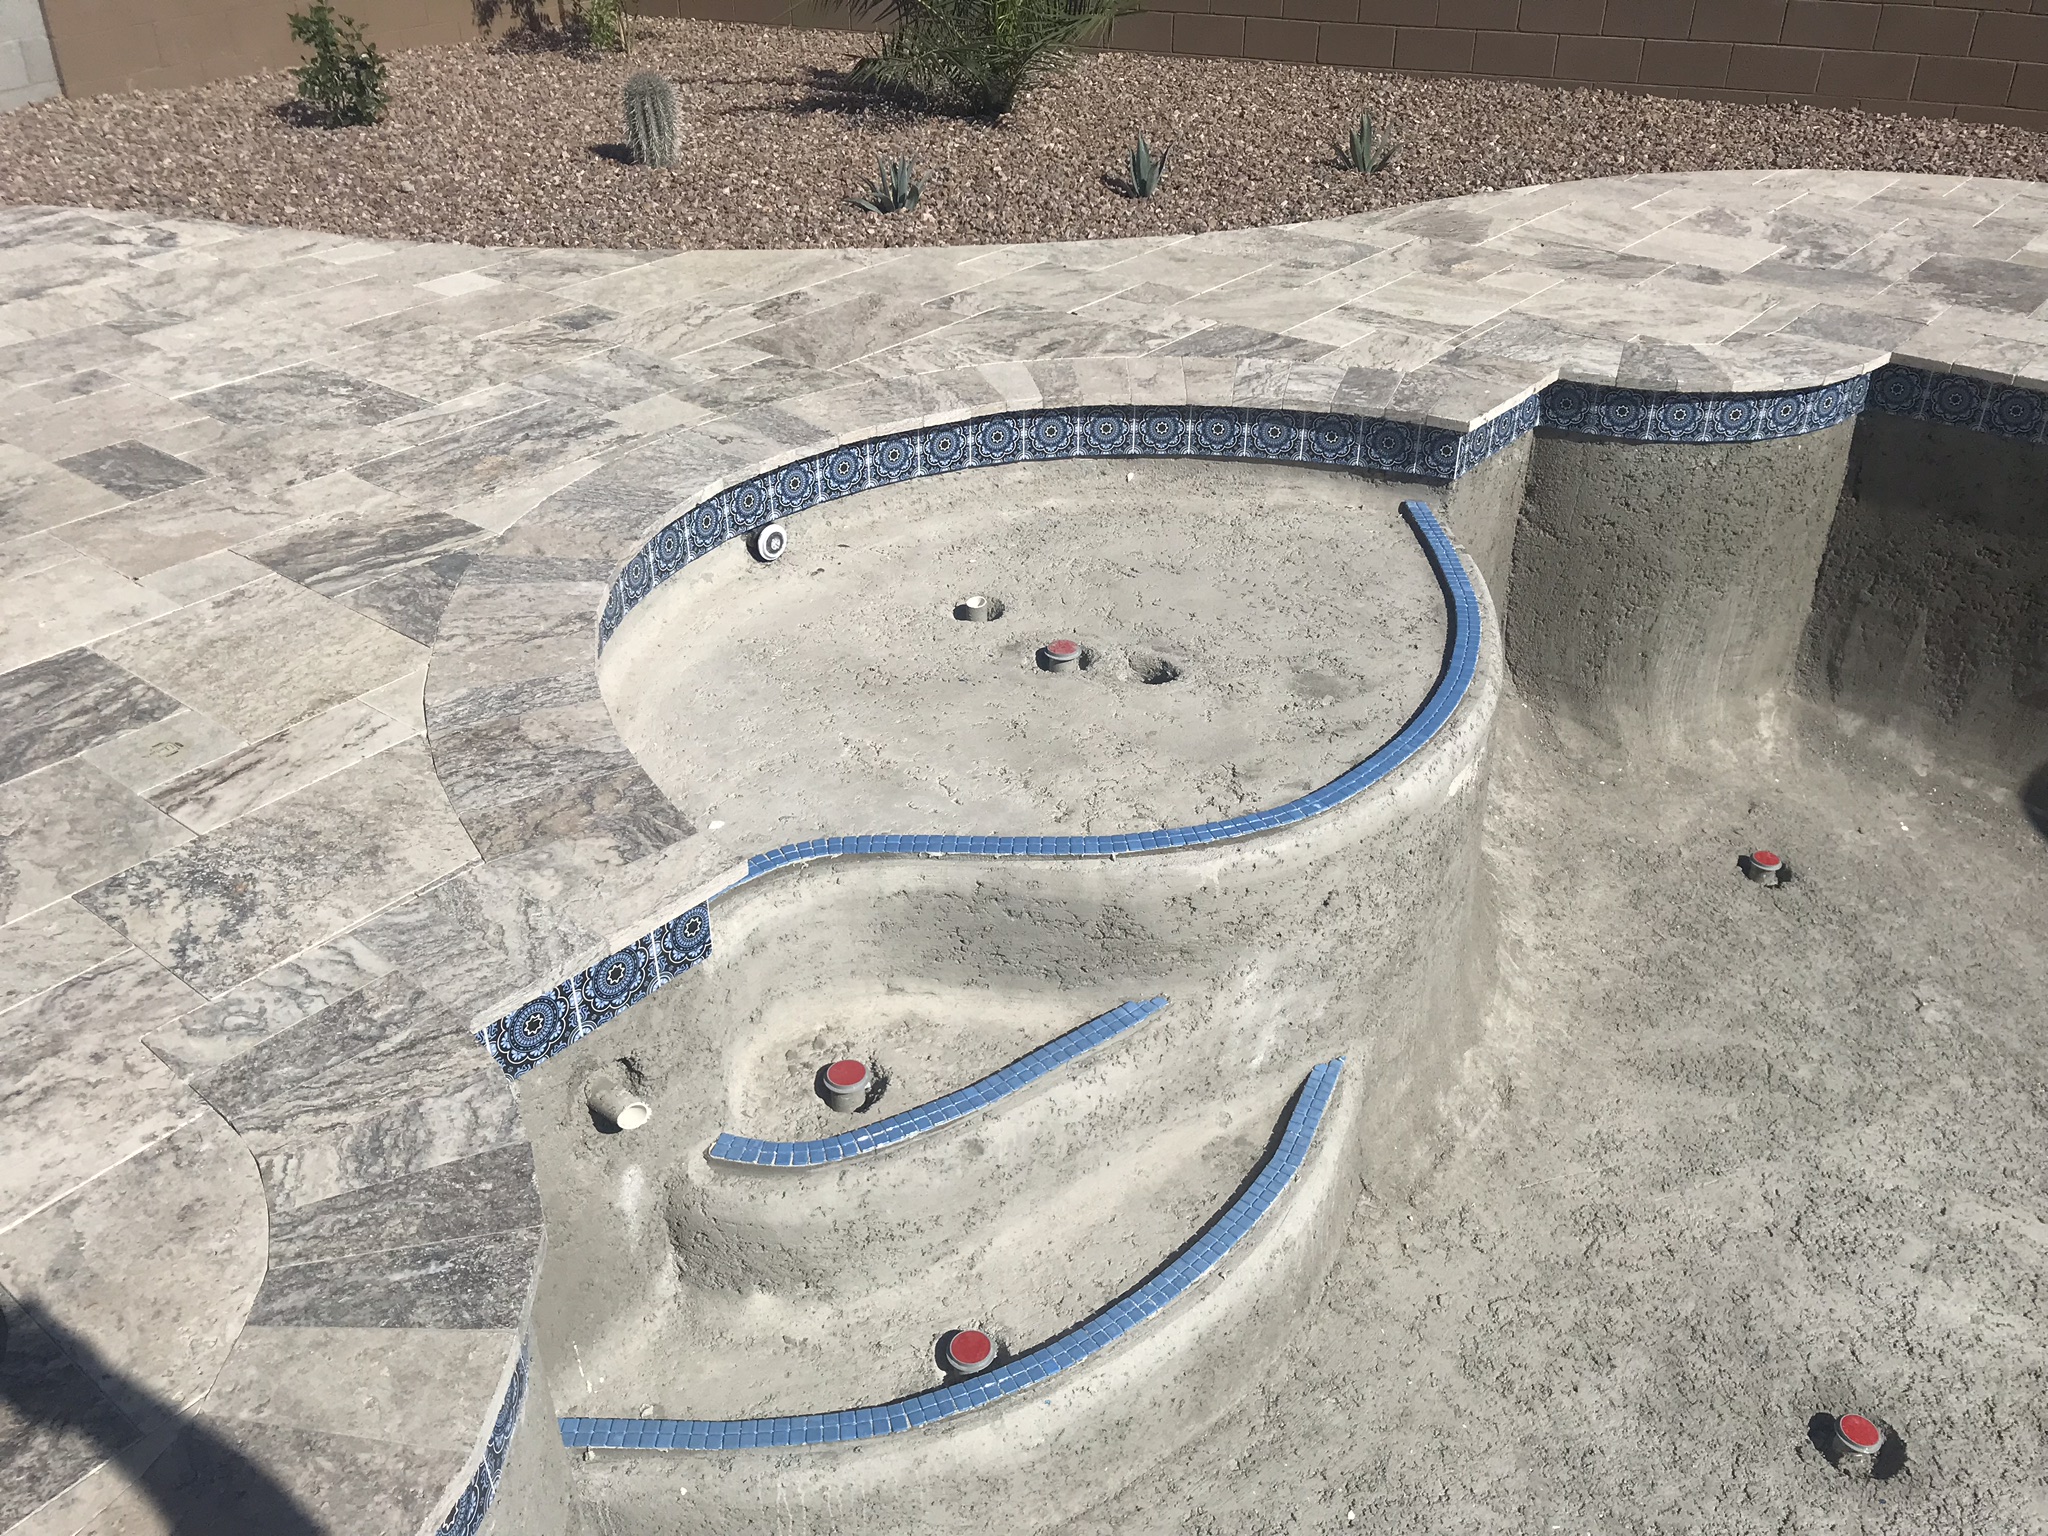
This is where the beauty of the pool starts to shine through. Typically a tile border sits three inches above and below the waterline. The tile protects the interior finish from damage and discoloration due to chemical or elemental exposure. It also acts as a visual aide to notice where the pool level is and when water needs to be added. Below that an interior finish is then added. This can be stone, pebble, tile or plaster. Endless colors and textures are available to match and accent the rest of the home and yard.
Extras
Waterfalls, slides and fountains will now be completed. Decorative bulbs can be added to the light fixtures for different colors.


Time to fill it up and start having fun!
Grab your friends and family, fire up the barbeque or order takeout and make some memories. Enjoy a beautiful Arizona sunset in your new pool.

